SHTF Food From Long Term Storage Supplies

Welcome to the Precious Metals Bug Forums

Welcome to the PMBug forums - a watering hole for folks interested in gold, silver, precious metals, sound money, investing, market and economic news, central bank monetary policies, politics and more. You can visit the forum page to see the list of forum nodes (categories/rooms) for topics.

Why not register an account and join the discussions? When you register an account and log in, you may enjoy additional benefits including no ads, market data/charts, access to trade/barter with the community and much more. Registering an account is free - you have nothing to lose!

Goldhedge

GIM2 Refugee
Moderator
Messages
9,933
Reaction score
7,777
Points
238
Use it or lose it.

Eventually we will need to toss the old, or use the food we prepped.

Post some recipes that will promote usage of those elderly foodstuffs before they really go bad....


Sticky Buns

Ingredients

For the Dough:
  • ⅔ cup warm water
  • ⅔ cup warm milk
  • 2 teaspoons active dry yeast
  • 2 tablespoons white sugar
  • 1 large egg, beaten
  • 6 tablespoons unsalted butter, melted
  • 4 cups all-purpose flour, or more as needed
  • 1 ½ teaspoons fine salt
For the Sticky Topping:
  • ½ cup packed light brown sugar
  • ¼ cup white sugar
  • 1 pinch salt
  • 6 tablespoons unsalted butter, melted
  • 3 tablespoons water
  • 1 cup chopped toasted pecans
Sugar Filling:
  • ¾ cup packed light brown sugar
  • 1 teaspoon ground cinnamon
Directions

1 - Combine warm water and milk in a mixing bowl and sprinkle yeast over. Let sit until frothy, about 10 minutes.

2 - Add sugar, egg, and melted butter for dough to the yeast mixture. Mix with a whisk before adding 75% of the flour with the salt. Mix, adding more flour, until a very soft and sticky dough is formed. Let knead in the mixer for about 5 minutes. Cover and let rise in a warm spot until doubled in size, about 1 hour.

3 - While dough is rising, preheat the oven to 375 degrees F (190 degrees C). Generously butter a 9x13-inch metal baking pan.

4 - Combine brown sugar, white sugar, salt, melted butter, and water for topping in a bowl. Mix thoroughly until smooth. Pour into the prepared pan and spread evenly to cover the bottom. Scatter pecans evenly over the top. Set aside until needed.

5 - Combine brown sugar and cinnamon in a bowl for filling; mix until thoroughly combined. Set aside until needed.

6 - Transfer dough onto a lightly floured surface. Lightly flour your hands and press and stretch the dough to form a 18x15-inch rectangle. Sprinkle cinnamon-sugar mixture evenly over the dough to the edges, leaving a 2-inch border along the edges. Lightly press the sugar mixture into the dough with your hands.

7 - Roll the dough into a cylinder with lightly floured hands starting with the edge closest to you; try not to roll too tightly. Finish shaping the cylinder as uniformly as possible, seam-side down. Lightly score the roll with the edge of a knife to indicate 12 equal portions.

8 - Slide a piece of string or floss under the dough, lining it up at the first knife mark. Cross the ends of the string over the top and pull in opposite directions to cut through the dough. Continue with remaining dough.

9 - Transfer buns into the pan with topping, making 3 rows of 4 buns. If one side of a bun has more dough than another, place with the doughier side up in the pan. Tent the pan loosely with foil and let rise until buns have almost doubled in size, 45 minutes to 1 hour. Save foil in case you need it towards the end of baking time.

10 - Bake in the preheated oven until an instant-read thermometer inserted into the center of a bun reaches 200 degrees F (93 degrees C), about 35 minutes. If the tops are getting too browned, loosely tent the pan with foil for the last 5 to 10 minutes of baking time.

11 - Remove from the oven onto a wire rack and let cool for 5 minutes. Turn pan over carefully onto a serving platter. Use a spoon to transfer any sticky topping that has remained in the pan. Let cool and serve warm or at room temperature.
 
Cool thread idea. I started a thread years ago about packaging food for long term storage and I've got a lot of staples packed away, but if we ever get into the weeds of a true SHTF scenario, I'm likely eating beans and grains with salt and whatever herbs I've managed to grow in my gardens. Not very epicurean.
 
I've been working on preserving the food we get from our garden, as was thinking about starting a thread like this about preserving food. Freezing, canning, dehydrating. A lot of people talk about growing a garden when food costs are high, or when there is the threat of food shortages. But unless you know how to preserve the food you grow, and are willing to put the work in, you will eat well for a few months and then be sad all winter.
 
This thread is flexible!

Canning, preserving, dehydrating? SURE! Why not??

Bug can change the title to fit anything we come up with.
 
Perfect GH! I need to know from The Administrative Bug aka @pmbug whether I can recommend some of my sources of freeze dried stuff and other prep items. Also, I have canning and preserving ideas I would love to share. I am one of the people who believe we will need to incorporate our preps into every day. I believe in prepping barter items, foodstuffs, weapons, ammunition, skills and the tools to utilize those skills and the knowledge of when to use them.

Can we share websites or youtube videos to help others?

I am happy to share whenever. Also have recipes for using freeze dried or dehydrated preps.
 
Two old threads somewhat related to this one:


Sausage Gravy and Biscuits
Ingredients

Biscuits
  • 3 cups self-rising soft wheat flour
  • 1/4 teaspoon baking soda
  • 1 teaspoon sugar
  • 1/2 cup butter-flavored shortening
  • 1 1/4 cups buttermilk
  • 2 tablespoons butter, melted
Sausage Gravy
  • 1/2 pound ground pork sausage 1/4 cup butter
  • 1/3 cup all-purpose flour
  • 3 1/4 cups milk
  • 1/2 teaspoon salt
  • 1/2 teaspoon pepper
  • 1/8 teaspoon Italian seasoning
Directions
  1. Prepare Biscuits: Preheat oven to 425°F. Combine first 3 ingredients in a large bowl; cut in shortening with a pastry blender until mixture is crumbly. Add buttermilk, stirring just until dry ingredients are moistened.
  2. Turn dough out onto a lightly floured surface, and knead lightly 4 or 5 times. Roll to 3/4-inch thickness; cut with a 2 1/2-inch round cutter. Place biscuits on a greased baking sheet.
  3. Bake at 425oF for 14 minutes or until golden. Brush tops with melted butter. Keep warm.
  4. Prepare Sausage Gravy: Brown sausage in a skillet, stirring until sausage crumbles. Drain, reserving 1 Tbsp. drippings in skillet.
  5. Add butter to drippings; cook over low heat until butter melts. Add flour; stir until smooth. Cook 1 minute, stirring constantly. Gradually add milk; cook, stirring constantly, over medium heat 10 minutes or until thickened and bubbly. Stir in sausage, salt, pepper, and Italian seasoning. Cook, stirring constantly, 1 minute or until thoroughly heated.
  6. Split biscuits open; serve with gravy.
 
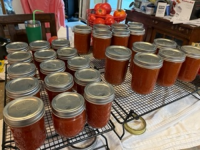
The garden has been kicking out tomatoes faster than I can use them up. Another day of canning today, tallied up another 15 half pints, along with five pints, of tomato soup. This along with 13 more pints of pasta sauce.

View attachment 737
Care to explain how to prep and can tomatoes? Maybe do a video?
 
Canning food requires caution to make sure that what you are canning is safe, because improper canning can cause botulism or other contaminations. Water bath canning requires a high level of acidity. Foods such as beans, potatoes, carrots and corn are not high enough in acidity to be safely water bath canned; they must be pressure canned or frozen. Cucumbers need to be pickled, in vinegar with at least a 5% acidity level to be safe.

Tomatoes are generally high enough in acidity to be safely water bath canned, but you do have to follow a few guidelines, and many recipes also call for a small amount of added acidity (such as lemon juice or citric acid). Tomatoes need to be peeled; they can either be peeled manually by using some combination of boiling/freezing to make it easier to peel the skins off, or you can run the tomatoes through a food mill or strainer. That is what I usually do. I also tend to "cheat" by using pre packaged mixes. There is a product called "Mrs. Wages"; they make pickle canning mix, pasta and pizza sauce mix, salsa mixes, chili base, and other products. They have easy to follow directions, and and they are tested for safety, so as long as the directions are followed, you can be confident that it is safe.

Without getting to much deeper into the weeds, here is a good link about safe tomato canning practices:

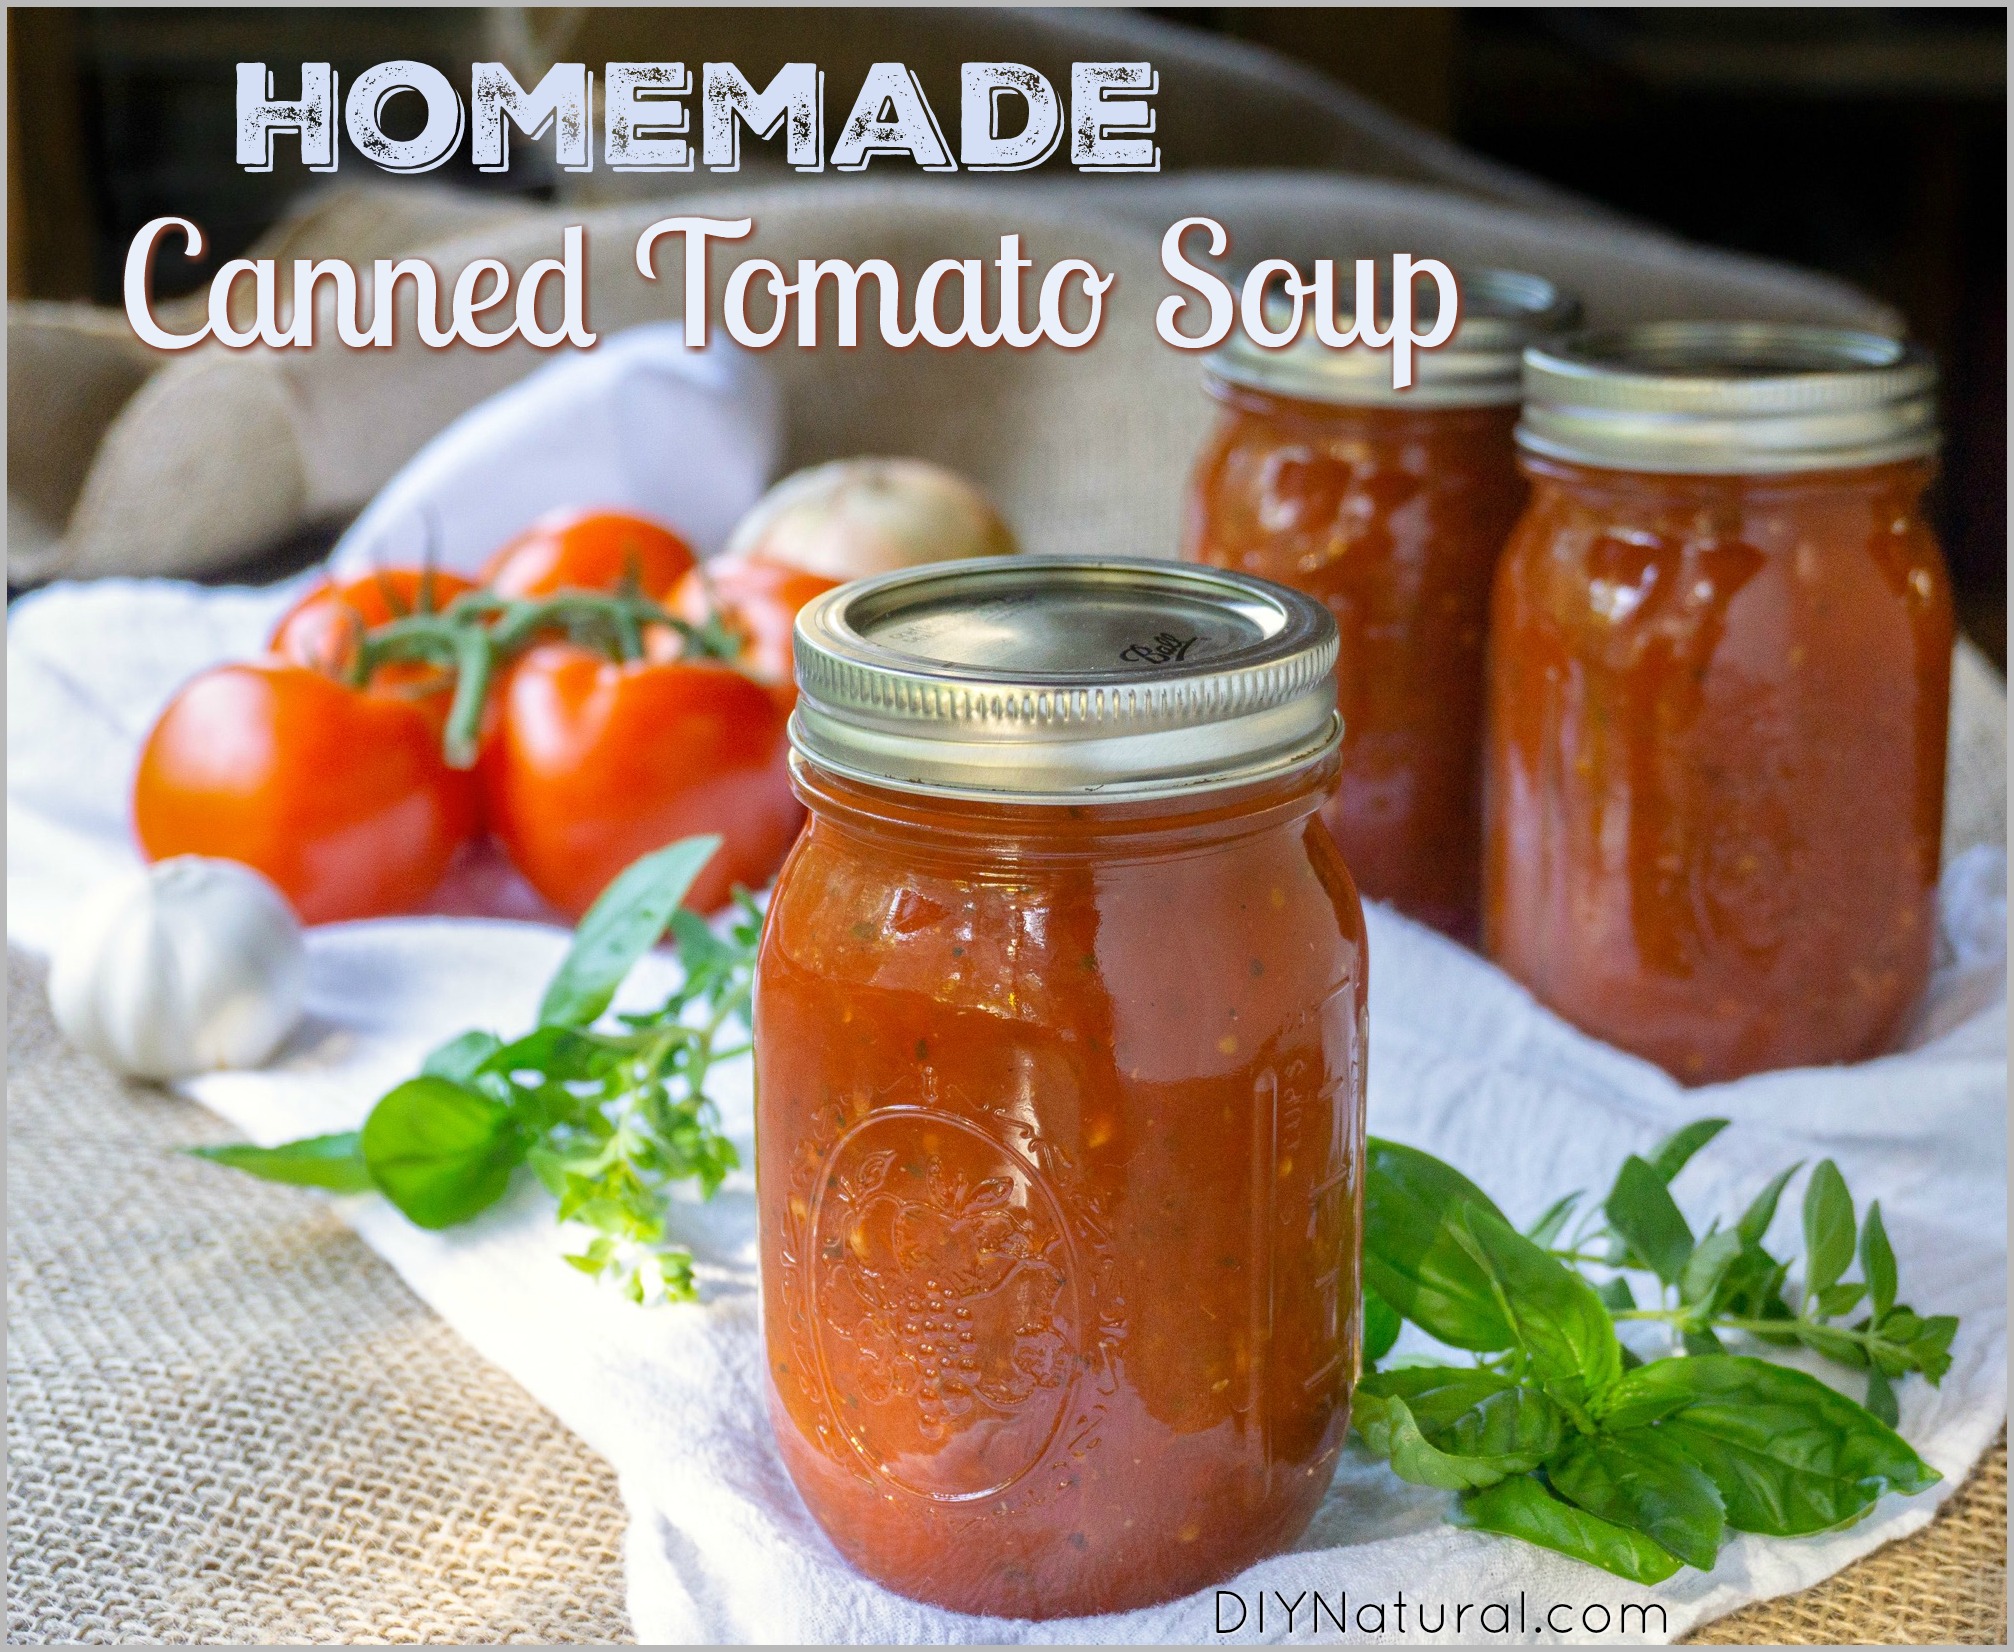
And here is the recipe/process I use for tomato soup:
 
I love tomato powder and rehydrate it i different consistencies for sauce, paste etc. Here are some of my favorite recipes for using it. It is super easy to make with a dehydrator.

Recipes with Tomato Powder

BULK SPAGHETTI SAUCE IN A JAR

Ingredients

½ TB dehydrated diced carrot
½ TB dehydrated celery
½ TB dehydrated bell pepper
1 TB dehydrated diced onion
1 TB dehydrated diced tomatoes
1 TB dehydrated vegetable powder
1 TB dehydrated green powder
2 TBS dehydrated mushroom pieces (or use powder to taste)
½ tsp salt
½ tsp garlic powder
½ tsp dried oregano (to taste)
1 tsp dried basil
4-5 TBS Tomato Powder
2 cups water or broth
½ TB oil

Instructions: Bring water to a boil, include ingredients, and simmer for 15-20 minutes. Use an immersion blender if you prefer a smooth spaghetti sauce.

CHEESY TOMATO SNACK TOPPING

½ tsp tomato powder
½ tsp salt
½ tsp pepper
1 TB grated parmsan cheese (yes, the one from the an for shelf-stable topping)

Instructions: Sprinkle on top of popcorn, warm french fries, double or triple it for pizza crust or garlic bread, etc.

BLOODY MARY MOCKTAIL

2 Cups water + ¼ c tomato powder + vegetable powder

½ TB powder horseradish or 1 tsp prepared horseradish

1 good shake of hot pepper sauce (or some pepper powder)

1 tsp Worchestershire sauce

2 dehydrated lemon slices

Stir into a pitcher and give 30 min for flavors to meld. Serve over ice and garnish with lemon slices

HOMEMADE CHILI

Use your regular chili recipe and replace the canned tomato paste with reconstituted tomato powder.

To make the equivalent of a 6 ounce can tomato paste use 6 tablespoons tomato powder + ½ cup water + ½ tsp salt

SPAGHETTI SAUCE

Like the suggestion above, you can make your family favorite spaghetti recipe and replace the tomato sauce with reconstituted tomato powder.

To make a 15 ounce can of tomato sauce use ⅔ cup tomato powder + 1 ¾ cup water + ¾ tsp salt

HOMEMADE KETCHUP

To make homemade ketchup use 6 Tablespoons tomato powder + 1 cup water + 1 ¼ tsp salt + ¼ tsp onion powder + ⅛ tsp garlic powder + ¼ cup honey + ⅓ cup white vinegar. Simmer for 20 minutes.
 
Do you have green tomatoes that will not be ripe in time to use? Make hot green tomato pickles.

2 qts water
1 qt cider vinegar
1/2 cup Kosher or Pickling salt

Bring brine to a boil.

Meanwhile prepare hot pack quart jars, lids and rings for pickles.

Place in jars, quartered or halved green tomatoes, 5 peeled garlic cloves, 7 jalapeno slices and 4 hot banana pepper slices as stuffed as you can.

(Wash and trim green tomatoes. Cut in quarters or halves to a fairly even size.)

Pour boiling brine over veggies in the hot jars, wipe rims and place lids and rings. Allow to cool.

Making these tomorrow with the last of the green tomatoes.
 
How did the BBQ flavored powder turn out?
I'm not there yet, still trying to get the recipe right for the BBQ flavor. Some paprika and bit of mustard is part of it, and maybe a hint of horseradish. And maybe some citric acid to replace the sour that usually comes from vinegar.
 
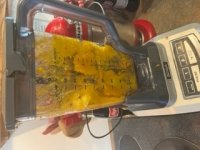
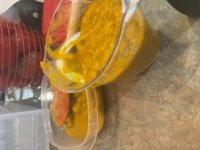
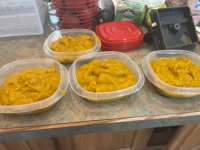
Baking and pureeing pumpkin for the freezer. Pureed pumpkin can be used in pumpkin bread, muffins, pumpkin soup, and of course pie.
Freezing in 2 cup portions...the amount that is called for in most bread and soup recipes.
1665702653239.jpeg

1665702685277.jpeg

1665702712306.png
 
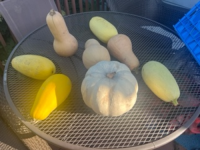
Predicted for a hard freeze tonight and tomorrow night, so getting what is probably the last produce from the garden today. Not bad...I posted a photo of todays haul in the garden cracking thread, too. While I am baking/pureeing more pumpkin today, I wanted to mention the squash in this thread. Winter squash, such as butternut and spaghetti squash, if properly ripened and cured, will keep for four or five months in a cool, dark place. Summer squash, such as acorn squash and zucchini, will not keep as long. You will get a few weeks, maybe three or four, before they start to go bad.

As for the winter squash, make sure it is fully ripe. The color will tell you a lot...butternut will start out lightly colored, maybe a light beige, but then turn a darker tan color when ripe. Also, when ripe, you should not be able to easily dent the skin with your fingernail. If you can easily dent or puncture the skin, it is not yet ripe. Another way to tell is the stem. If the stem is still predominantly bright green, it is not ready. The stem will begin to fade, and then begin to show some brown/tan and begin to dry out. When the green is faded in the stem, and the skin of the squash is hard, it is likely ready to pick.

Once picked, if able, let them sit outside in the sun for a few days, provided it is not too hot...80 degrees or so would be the warmest you would want it to be. You also would not want it to dip below freezing. By leaving it outside after being picked, it will further "cure" and harden the skin. This will allow you to store it for several months provided it is in a cool, dark place.

Other options for preserving squash include baking it and then freezing the finished product, ready to heat and eat. This is probably the most effective way to preserve acorn squash. It can also be cut into chunks and frozen that way. This is effective as most squash soup recipes call for the squash to be cut into small chunks...you can do this and freeze it in amounts desired for making a batch of squash soup. It can also be pressure canned, but I am not going to go into that in detail because I have no experience doing it that way, and it requires a fairly precise process to be done safely.

1665945963390.png
 
Weirdly got into the 70s today in NW WI. I brought in all the herbs weeks ago and picked everything as well. I’m not home though. I’m on a road trip and am currently in SC where it is cooler than back in WI. Planning to share some harvest recipes and tips for preps when I get back.
 
Back
Top Bottom