WORKIN' MAN

Welcome to the Precious Metals Bug Forums

Welcome to the PMBug forums - a watering hole for folks interested in gold, silver, precious metals, sound money, investing, market and economic news, central bank monetary policies, politics and more. You can visit the forum page to see the list of forum nodes (categories/rooms) for topics.

Please have a look around and if you like what you see, please consider registering an account and joining the discussions. When you register an account and log in, you may enjoy additional benefits including no ads, market data/charts, access to trade/barter with the community and much more. Registering an account is free - you have nothing to lose!

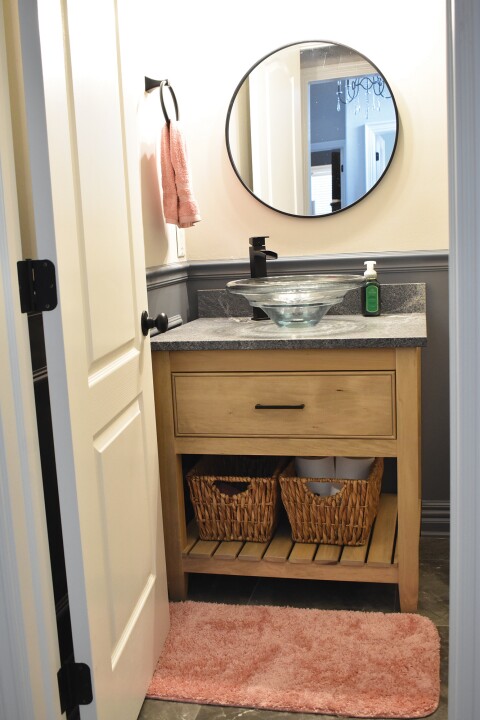
Helping build a 700+# entertainment center today out of 3/16th " plate steelView attachment 5004

View attachment 5003
just now saw this......3/16 steel ...wow ....did you order a crane to move it ?..... could also be a safe LOL as its thicker than most gun safes.......is it going to be built into and hold up some masonry?
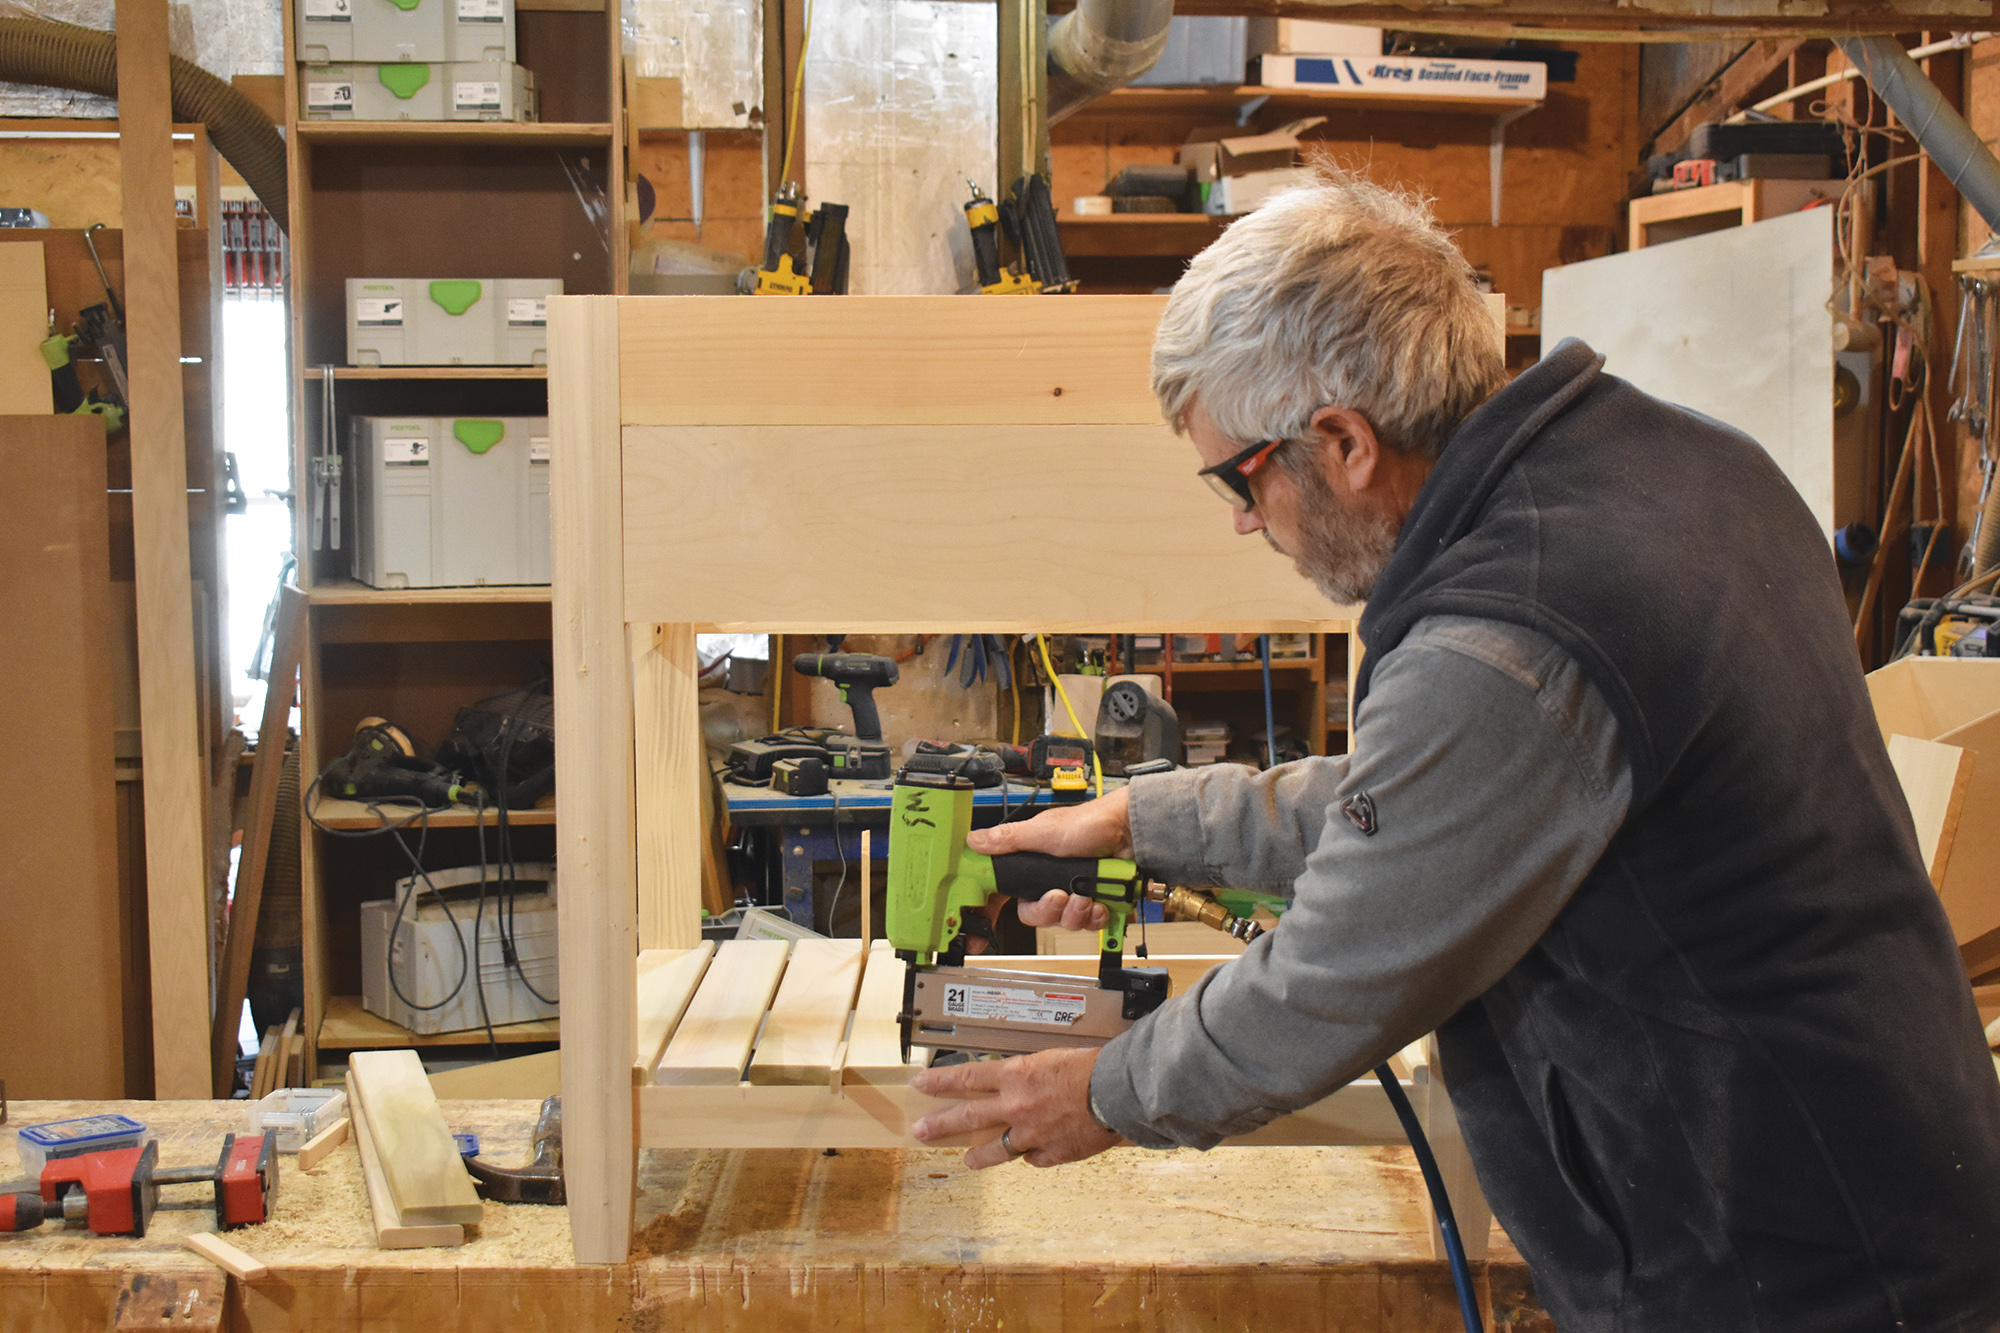
 
Last edited:

Interiors​

On the Job

Shop-Built Craftsman-Style Vanity​

By Gary Striegler
DOWNLOAD THE PDF VERSION OF THIS ARTICLE. (1.68 MB)
90

I know some amazing furniture makers, but Iā€™m not one of them. Still, I enjoy building small, custom projects for my clients, especially if it means I get to spend a day working in the shop (though donā€™t stop reading if you donā€™t have a shop; the project shown here could easily be built on a well-equipped jobsite). Most of these projects require only common trim carpentry tools and can be built in a day. Usually, the inspiration for them is a few pictures that a client has found on the internet, or something not being available in quite the right size. In this case, my client had found photos of a couple of vanities that were similar, and we agreed on a design that blended the two options and that I could build quickly using pocket-hole joinery.

Design. My biggest concern was getting the height right, because the vanity would feature a vessel sink that would sit on a stone countertop. So I waited until we had the sink on the jobsite before deciding on a 33-inch vanity height and starting to build the vanity.

The design includes four exposed square posts, each with a slight taper at the bottom, and an exposed shelf made of slats about 5 inches up from the bottom of the vanity. Thereā€™s a single, wide drawer front with matching side insets between the posts at the top. All of the parts that are visible are made from poplar.

Post construction. Everything fits between the posts, so I glued them up first, starting with one oversized glue-up that I ripped into oversized blanks. That gave me room to straighten the legs, plane them to their final dimension (2x2 inches in this case), and cut off any snipes at the end.

I made a simple sled jig for the table saw to cut the bottom leg tapers, setting it up to cut from 3/8 inch to zero over 3 inches. To cut safely, I made the jig extra long to keep my fingers away from the blade and turned the saw off after each cut, waiting for the blade to stop before resetting for the next cut. For smooth cuts, I use a Tenryu combo blade on my table saw, but I still had to touch up each cut with a belt sander.


After gluing up poplar blanks for the vanityā€™s corner posts, the author scraped off dried glue, then planed the blanks to finish size.

The posts have tapered legs, which the author cut with the help of a simple jig to allow for uniform rips and to keep his fingers away from the blade.

The jig consists of a ripping screwed at an angle to an MDF block, with a stop block to align the workpiece.

After cutting the tapers in the 2x2 posts, the author used a belt sander to smooth away kerf marks.
Rails. The posts are connected to each other by three sets of rails. The bottom rails support the bottom shelf; another set of rails is located at the top of the cabinet; and a third set sits below the drawer and fixed side panels. I made the rails out of 1-by S4S poplar, with the exception of the upper back rail, which I cut from 3/4-inch plywood. After ripping the rail material to rough width, I set the pieces on edge and ran them all at the same time through a benchtop planer with sharp knives to mill them to their final width of 2ā€Æ1/4 inches.

This is a simple cabinet to build, but it is critical to cut the rails accurately, so I set up a stop on a miter saw and cut each set of rails at the same time. Then I drilled each end of the rails for a pair of pocket screws to fasten the rails to the corner posts. I wanted to make the slat shelf as strong as possible, so I added pocket screw holes to the front and back bottom rails for attaching the slats to them.


The author used a Kreg Multi-Mark layout tool and blocks and clamps to position the rails accurately when fastening them to the posts.

The rails are joined to the posts with pocket screws. The pocket holes that are visible along the bottom rail will be used when the slats that make up the bottom shelf are installed.
Pocket screws make fast, strong joints, but keeping the correct alignment can be challenging. I used clamps and spacer blocks to maintain accuracy and a Kreg Multi-Mark measuring and marking tool to pinpoint the locations of the bottom rails.

I started out by making the front and back panels, screwing the long rails between the posts. Then I screwed the shorter side rails to the back panel. Working off the top of a workbench, I used pipe clamps to hold the front section in place when I installed the last pocket screws.


After assembling the front and back panels, the author screwed the three shorter side rails to the back panel. Then he drew the assembly together with clamps as he installed the front panel.

The author milled the 2-inch wide slats that make up the bottom shelf down from 3/4 inch to 5/8 inch thick, then eased their edges with a round-over bit mounted in a trim router.
Slat shelf. Like the rails, I ran the 2-inch-wide bottom shelf slats on edge through the planer to get rid of saw kerfs. I also ran them through the planer to thin them to 5/8 inch thick, then rounded over the corners. I suppose the slats could be left at 3/4 inch thick, but I think the thinner, 5/8-inch-thick slats look a lot better.

After cutting all the slats to length, I did a test layout to get the spacing right, then tacked each one in place with a 21-gauge pin. I notched the first one around the legs, then went from left to right; next time, though, I think it will be easier to start in the middle and work toward each end. The pins were strong enough to keep the slats in place until I added the pocket screws from the bottom.


To make sure the shelf slats were properly located and evenly spaced, the author first tacked them to the bottom rails.

Then he flipped the assembly on its side and secured the slats with pocket screws driven up through the rails.
Drawer. I added a 3/4-inch-thick poplar filler to each side of the drawer opening to install the side-mount CSH full-extension metal drawer slides. The front edges of the fillers double as stops for the drawer front.

Because the one large drawer would have a cutout to fit around the drain, my normal 1/4-inch-plywood drawer bottom wouldnā€™t work. For strength, I instead used a full 3/4-inch-thick MDF bottom, which I pocket-screwed into the 1/2-inch Baltic birch drawer sides. I filled in the front and mitered around the back with more Baltic birch plywood using 21-gauge pins at the joints.

The drawer front and side panels are plywood with a simple bead detailā€”a molding that I make with a Whiteside beading bit mitered around the plywood. To size the plywood panels, I subtract two times the molding thickness plus 1/8 inch for a slight reveal. I nailed plywood scraps behind the side rails to serve as mounting cleats.


To make the bead detail used to trim the edges of the drawer front, the author shaped the edges of a length of poplar using a beading bit.

Then he ripped the bead detail to size on a table saw and used the pieces to picture-frame the edges of the vanityā€™s inset drawer front.
I attached the drawer hardware and adjusted the drawer to sit level and square in the opening. My final challenge was fitting the inset drawer front. I used shims to center it (this is where cutting all the parts carefully pays off) and ran screws in from the back.

I really enjoyed building the cabinet. It didnā€™t take a lot of material, and I probably could have built two in close to the same time as it took to build one, but there is only so much storage room in my shop. Besides that, I wouldnā€™t want to mess up the chance to spend another day working there.

Photos by Gary Striegler.

About the Author
Gary Striegler
Gary Striegler, a JLC contributing editor, owns Craftsman Builders (craftsmanbuildersnwa.com), in Fayetteville, Ark., and teaches workshops at the Marc Adams School of Woodworking. Follow him on Instagram: @craftsmanbuilders.

 
horse traded a neighbor out of this homemade post hole digger

hook the jumper cables up to the battery in the truck and then hit the go button and hold on!


CCDDCA2B-88B2-4BD6-86E8-974A3D1DAB1C.jpeg


also picked this out of an old house that is being demolished , i think i can rebuild the electric motor


57943A6D-395A-4F8F-92CE-D446755C7BF0.jpeg


here is the old house that will be demolishedā€¦..i am thinking of pulling all the 1x12ā€™s to be used to make some raised beds


C1085546-DD9C-4D0B-9BE7-ECE3452E8B5B.png
 
horse traded a neighbor out of this homemade post hole digger

hook the jumper cables up to the battery in the truck and then hit the go button and hold on!


View attachment 5881


also picked this out of an old house that is being demolished , i think i can rebuild the electric motor


View attachment 5880


here is the old house that will be demolishedā€¦..i am thinking of pulling all the 1x12ā€™s to be used to make some raised beds


View attachment 5882
That auger looks like a real skookum choocher. A wrist breaker too.

A look at the price of new lumber makes the repurposing a no brainier. (y)
 
The Kubota got taken in for service and got solid wheels and tires and they did some computer stuff to make it less jerky. Was using an old Bobcat with foot pedals in the interim. Now this thing operates different than it did. Working extra hard at controlling muscle memory just using my truck after long days on the various machines. šŸ˜„

The Kubota is a super tight machine compared to the old Bobcat. I maxes it out however on giant pallets of wet mulch. Things a beast though. I believe the set of wheels and tires cost $3500

Screenshot_20230113-205210.png
Screenshot_20230113-205312.png
Screenshot_20230113-204702.png
 
Just finished building a plant stand for my wife's gardening efforts. Got $120 in it. $60 for the pressure treated and $60 for the buckets.


View attachment 5871

View attachment 5872
Magnetic wood? Kewl. ;) I hadda use rust-proof fargin screws. Nice stand! I made one pretty doggone close to yours -- I was tryna keep the billions of nematodes from killing anything I tried to grow that does not belong in South Floriduh. Din' work: The fargin wildlife ate everything including the roots. Jeez.

Since you din' mention, did you use screws? Down here in Floriduh, if you use nails, you have a three-year window before it begins to fall apart.

On the sooper serious side, my engineer side has got an looked at that erection and I see no triangles on a top-weighted parallelogram. A coupla/few scrap lumber "X's" across the left/right, forward/back tilty-ways would make it dreamy.

If you've got a scrap plywood square, and used it as an end covering, it would stop accidental bumps, leaning-ons, etc. from meaning anything in the tippy/lean department on the length most vulnerable to EEK EEKs.
 
That auger looks like a real skookum choocher. A wrist breaker too.

A look at the price of new lumber makes the repurposing a no brainier. (y)


Unca Walt said the same thing about the lunber

some of the 1x12ā€™s are 16ā€™ footers

but it would be a biocth for this old fa-rt to take a potato fork and rip off the 3-4 layers of shingles and some of those boards have a 100 nails in them

i am going to wait for the back-ho guy to show up and see if he will let me work with him during the demo and maybe he can do the grunt work with his ho and i can gkeen the lumber
 
These days, my wife and I salvage pretty much anything that still looks usable when it comes to lumber.
 
The Kubota got taken in for service and got solid wheels and tires and they did some computer stuff to make it less jerky. Was using an old Bobcat with foot pedals in the interim. Now this thing operates different than it did. Working extra hard at controlling muscle memory just using my truck after long days on the various machines. šŸ˜„

The Kubota is a super tight machine compared to the old Bobcat. I maxes it out however on giant pallets of wet mulch. Things a beast though. I believe the set of wheels and tires cost $3500

View attachment 5887
View attachment 5888
View attachment 5886
Had a set of solid tires for my skidsteers....lot of plus,s but they are terrible in gravel or mud traction wise, get stuck very easy and ours rode very rough....but great for demo work
 
Had a set of solid tires for my skidsteers....lot of plus,s but they are terrible in gravel or mud traction wise, get stuck very easy and ours rode very rough....but great for demo work
That makes sense now. Was not getting traction in the gravel and thought it was the changes to the hydraulics... It was those tires bring so soft/giving. At least they do better on the pavement than the old ones and are nice and quiet. It was the pavement that was eating up the old tires (& getting flats)
 
That makes sense now. Was not getting traction in the gravel and thought it was the changes to the hydraulics... It was those tires bring so soft/giving. At least they do better on the pavement than the old ones and are nice and quiet. It was the pavement that was eating up the old tires (& getting flats)
Ours were different than yours ours were pretty hard.....also with a load turning on a hard surface they would get a lot of extra traction and bounce while turning instead of slipping...I had the kind with bolt on segments...yeah skid steers are horrible on rubber
 
Ours were different than yours ours were pretty hard.....also with a load turning on a hard surface they would get a lot of extra traction and bounce while turning instead of slipping...I had the kind with bolt on segments...yeah skid steers are horrible on rubber
I can do quick 360Ā° turns on the smooth cement with both tires. In the parking lot I've lost pallets due to the bouncing. The Bobcat lifting arms were kinda loose which exemplified it and was difficult to turn around.

One thing about the software change to the Kubota is that it seems that though it's less "jerky" it feels a bit harder to control because it doesn't "catch" as easily in the "jerky" and thus moves very free. I'm thinking I just have to get used to it.
 

JLC Online
Foundations
On the Job
Sealing a South Carolina Crawlspace
By Ted Cushman
LOGIN OR REGISTER TO DOWNLOAD THE PDF VERSION OF THIS ARTICLE. (6.7 MB)
Slideshow: Sealing a South Carolina Crawlspace
View All 9 Photos
Play slideshow

Traditionally, crawlspaces have been equipped with vents to allow fresh air exchange between the underfloor space and the outdoors, and floor systems were insulated with fiberglass batt insulation in the joist cavities. But in hot, humid, and mixed climate zones, the building-science justification for that approach has never been solid, and these days, the state-of-the-art solution is a sealed, conditioned crawlspace, with a vapor barrier protecting the underfloor space from ground moisture, and with the insulated thermal boundary moved from the framed floor to the wall perimeter. Codes have evolved in recent years to allow this approach, and the latest codes include prescriptive details for the ground vapor barrier, wall insulation, and conditioning system.


In the hot, muggy climate of South Carolina, a conditioned crawlspace is particularly advantageous. Even in dry Northern climates, ventilation is only marginally effective at removing ground moisture from an under-floor crawlspace; in the humid South, crawlspace ventilation openings that connect to the outdoor air often make things worse. So insulating and sealing the crawlspace has become standard practice in the low-country market near Charleston, South Carolina, and Savannah, Georgia.

With offices in Hilton Head and Charleston, S.C.,specialty contractor Energy One has created thousands of sealed crawlspaces over the past ten years, in both new and existing homes. We followed along as the crew installed and sealed the ground-cover vapor barrier under a new house, then applied poly-faced rolls of fiberglass insulation to the perimeter walls.

This house is located in the AE flood zone along the Wando River in the Charleston neighborhood of Daniel Island. So the crawlspace is required to have flood vents to relieve the pressure of high water in case of a floodā€”which complicates the air-sealing problem. In this case, Energy One was only contracted to install the ground cover and wall insulation; the builder's crew installed ā€œSealed Seriesā€ Flood Flaps.

However, Energy One planned to return as soon as the doors and vents were in place and a dehumidifier was installed. That's because in the damp South Carolina climate, mildew had already started to grow on the surface of the building's floor framing. As soon as the humidity in the space is controllable, Energy One will be back to scrub the floor framing with a sanitizing cleanser. Energy One also sells a long-term mold-inhibiting surface treatment, but in this case, the builder has opted for cleaning only. Once the crawlspace is sealed against vapor and air intrusion, mildew probably won't return unless the dehumidifier fails. To keep tabs on that risk, Energy One will install a humidity sensor alarm in the space.

About the Author
Ted Cushman
Ted Cushman
Contributing editor Ted Cushman reports on the construction industry from Hartland, Vt.
 
The nursery owner accepted my bid for repairing the perennial structures and some fencing. I'm starting tomorrow. Will be charging actual materials cost using their B'Lowes card and large cargo van. Labor will be just over $1k planning on it taking 2-1/2 -3 days.

Going to cut off and pull out and nails I can, replace with screws, then sister new 2x6 framing over the 2x6 & 2x8 beams staggering the new butt joints in the middle of the old beams and hopefully straightening everything out. I'll add other bracing as needed.

Screenshot_20230117-183131.pngScreenshot_20230117-183930.png
 
A first for me... another guy was at lunch so I clocked in, loaded a tree for a customer, shot the spit for a few, clocked out and put my tool belt back on and continued pulling nails.

Screenshot_20230120-171232.pngScreenshot_20230120-171249~2.png
 
Back
Top Bottom